Why Add a Finish Coat?
I was very happy with the look of the black papier maché clay when it dried. But of course, more possibilities for it came into the picture.
It’s nice to have the option of either the handmade paper look, with all its nooks and crannies or a super smooth finish. This coating acts as something of a spackle, filling in the low points.
It also minimizes sanding, which is not my favorite part of any project.
The Recipe
This material is essentially the papier maché clay recipe, without the paper or the baby oil. The paper adds lumpiness and the baby oil just seemed unnecessary.
For testing, I whipped up a small batch, since I only had three bowls to cover.
Ingredients
I’m using “parts” for measurement, since you may need a small or large quantity. I used a take-out sauce container and just filled it 2 or 3 or 4 times. Easy.
The whole concoction fit in a yogurt container, complete with lid for storage.
4 parts joint compound
3 parts Elmer’s or other PVA glue
2 parts inexpensive flour
2-5 TBSP. acrylic paint (black, for these purposes)
I originally thought of leaving the flour out, but it was too thin to fill the valleys in the bowl’s surface. The flour made a big difference in the consistency, from thin and runny to thick and spongy.
The amount of paint that was needed was a surprise after how little it took to make the clay black. But there was a lot of black paper in that to help balance out the white of the joint compound and flour.
Applying the Finish
Applying this substance is fun (I know, I need to get out more). It’s like painting with pudding!
Those inexpensive foam brushes you can get at home improvement, discount or dollar stores do a nice job. You can move the pudding around easily and it’s more or less brush mark free.
If you dampen the brush slightly after spreading the finish around, it’ll be even smoother when it dries, tending to self-level.
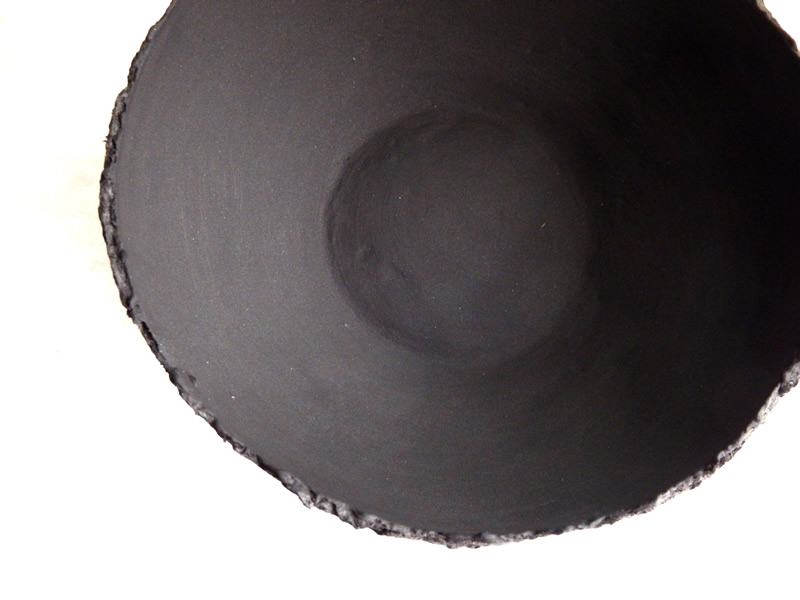
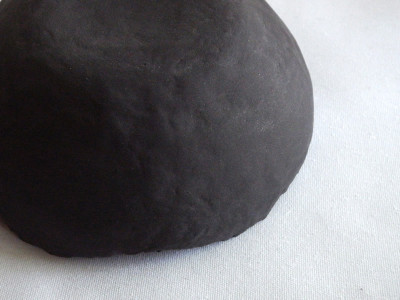
The original bowl was unsanded and relatively lumpy and the finish coat smoothed it quite a bit. With sanding and/or a couple of other finish coats, it should be a lot more even.
After It’s Dry

This material dries to a gorgeous smooth matte finish, with a feel almost like charcoal.
One downside is that it seems a bit unstable. It scratches or mars easily and leaves a black residue when you first wipe it down.
Luckily, if you wipe it with a barely damp cloth, the residue usually disappears quickly and easily, and the graying of (lightly) scratched areas also goes away.
Another concern about the finish is that, since it’s so dry (because of the joint compound/plaster), it might absorb oils from your skin or anything else that’s oily. So, it seems like it needs protection. I guess that means it’s an almost-finish coat.
I predict some spray finish testing on this surface in the near future. At least a touch of yellowing shouldn’t be a major problem… just making it a warmer black.
Lessons Learned
This finish is beautiful, but it still needs something to keep it from being marred.
It dries quickly, especially after the first coat. Three coats covered a lot of lumps, but if it was to be completely smooth, I’d do more sanding and probably add another couple of coats.
Stock up on inexpensive acrylic paint, especially if you want black black rather than deep gray.
Next Steps
Test out some decorative coloring materials on it, like chalk, pastel, acrylics, colored pencil.
Test the spray finishes that were used on the unfinished “raw” papier maché clay on the black surface, to see how well the very matte surface can stay that way.
Research how the spray finishes work with the decorative materials.
Try some other colors for this material.